Harbor私有仓库搭建
1. Harbor 服务搭建
1. 下载Harbor安装文件
- 从 github harbor 官网 release 页面下载指定版本的安装包。
1
2
3
4
5
6
# 1、在线安装包
wget https://github.com/vmware/harbor/releases/download/v1.7.4/harbor-online-installer-v1.7.4.tgz
tar xvf harbor-online-installer-v1.7.4.tgz
# 2、离线安装包
wget https://github.com/vmware/harbor/releases/download/v1.1.2/harbor-offline-installer-v1.7.4.tgz
tar xvf harbor-offline-installer-v1.7.4.tgz2. 配置harbor.cfg
- 配置说明
1
2
3
4
5
6
7
8
9
10
11
12
13
14
15
16
17
18
19
20
21
22
23
24
25
26
27
28
29
30
31
32
33
34
35
36
37
38
39
40
41
42
43
44
45
46
47
48
49
50
# hostname设置访问地址,可以使用ip、域名,不可以设置为127.0.0.1或localhost
hostname = frp.teamfort.cn
# 访问协议,默认是http,也可以设置https,如果设置https,则nginx ssl需要设置on
ui_url_protocol = http
# mysql数据库root用户默认密码root123,实际使用时修改下
db_password = root123
max_job_workers = 3
customize_crt = on
ssl_cert = /data/cert/server.crt
ssl_cert_key = /data/cert/server.key
secretkey_path = /data
admiral_url = NA
# 邮件设置,发送重置密码邮件时使用
email_identity =
email_server = smtp.mydomain.com
email_server_port = 25
email_username = sample_admin@mydomain.com
email_password = abc
email_from = admin <sample_admin@mydomain.com>
email_ssl = false
# 启动Harbor后,管理员UI登录的密码,默认是Harbor12345
harbor_admin_password = Harbor12345
# 认证方式,这里支持多种认证方式,如LADP、本次存储、数据库认证。默认是db_auth,mysql数据库认证
auth_mode = db_auth
# LDAP认证时配置项
#ldap_url = ldaps://ldap.mydomain.com
#ldap_searchdn = uid=searchuser,ou=people,dc=mydomain,dc=com
#ldap_search_pwd = password
#ldap_basedn = ou=people,dc=mydomain,dc=com
#ldap_filter = (objectClass=person)
#ldap_uid = uid
#ldap_scope = 3
#ldap_timeout = 5
# 是否开启自注册
self_registration = on
# Token有效时间,默认30分钟
token_expiration = 30
# 用户创建项目权限控制,默认是everyone(所有人),也可以设置为adminonly(只能管理员)
project_creation_restriction = everyone
3. 启动安装
1 | ./install.sh |
4. Harbor-UI访问地址
1 | http://frp.teamfort.cn:80 |
2. Harbor使用过程中的坑
配置文件修改
第一次安装Harbor后,mysql的数据会存储在/data/database文件夹下。如果你想修改mysql root密码的话(不管你有没有重装),都要先把/data/database删掉,否则UI容器会一直报“Access denied”的错误,即便是重下镜像也无法解决。(这个问题花费了我大半天的时间,最后终于在官方issues里找到了解决方案T_T)
当然在自己的测试环境里边可以随便玩,但如果想把Harbor部署到生产环境中,强烈建议预先配置好各类环境参数,避免改动。Nginx端口修改
Harbor的Nginx端口映射到宿主机的80端口上了,一般情况下我们不希望80端口被占用,所以需要修改docker-compose.yml文件:1
2
3
4
5
6
7
8
9
10
11
12
13
14proxy:
image: nginx:1.9
container_name: nginx
restart: always
volumes:
-./common/config/nginx:/etc/nginx
ports:
- 9999:80
- 443:443
depends_on:
- mysql
- registry
- ui
- log然后再修改common/templates/registry/config.yml文件:
1
2
3
4
5
6
auth:
token:
issuer:registry-token-issuer
realm: $ui_url:9999/service/token
rootcertbundle:/etc/registry/root.crt
service: token-service修改完成后执行
sudo ./prepare重新生成配置文件Registry端口修改(非必需)
按照惯例,开放5000端口给registry使用,则修改docker-compose.yml文件,为registry节点添加posts属性,步骤与修改Nginx配置一样。设置信赖列表
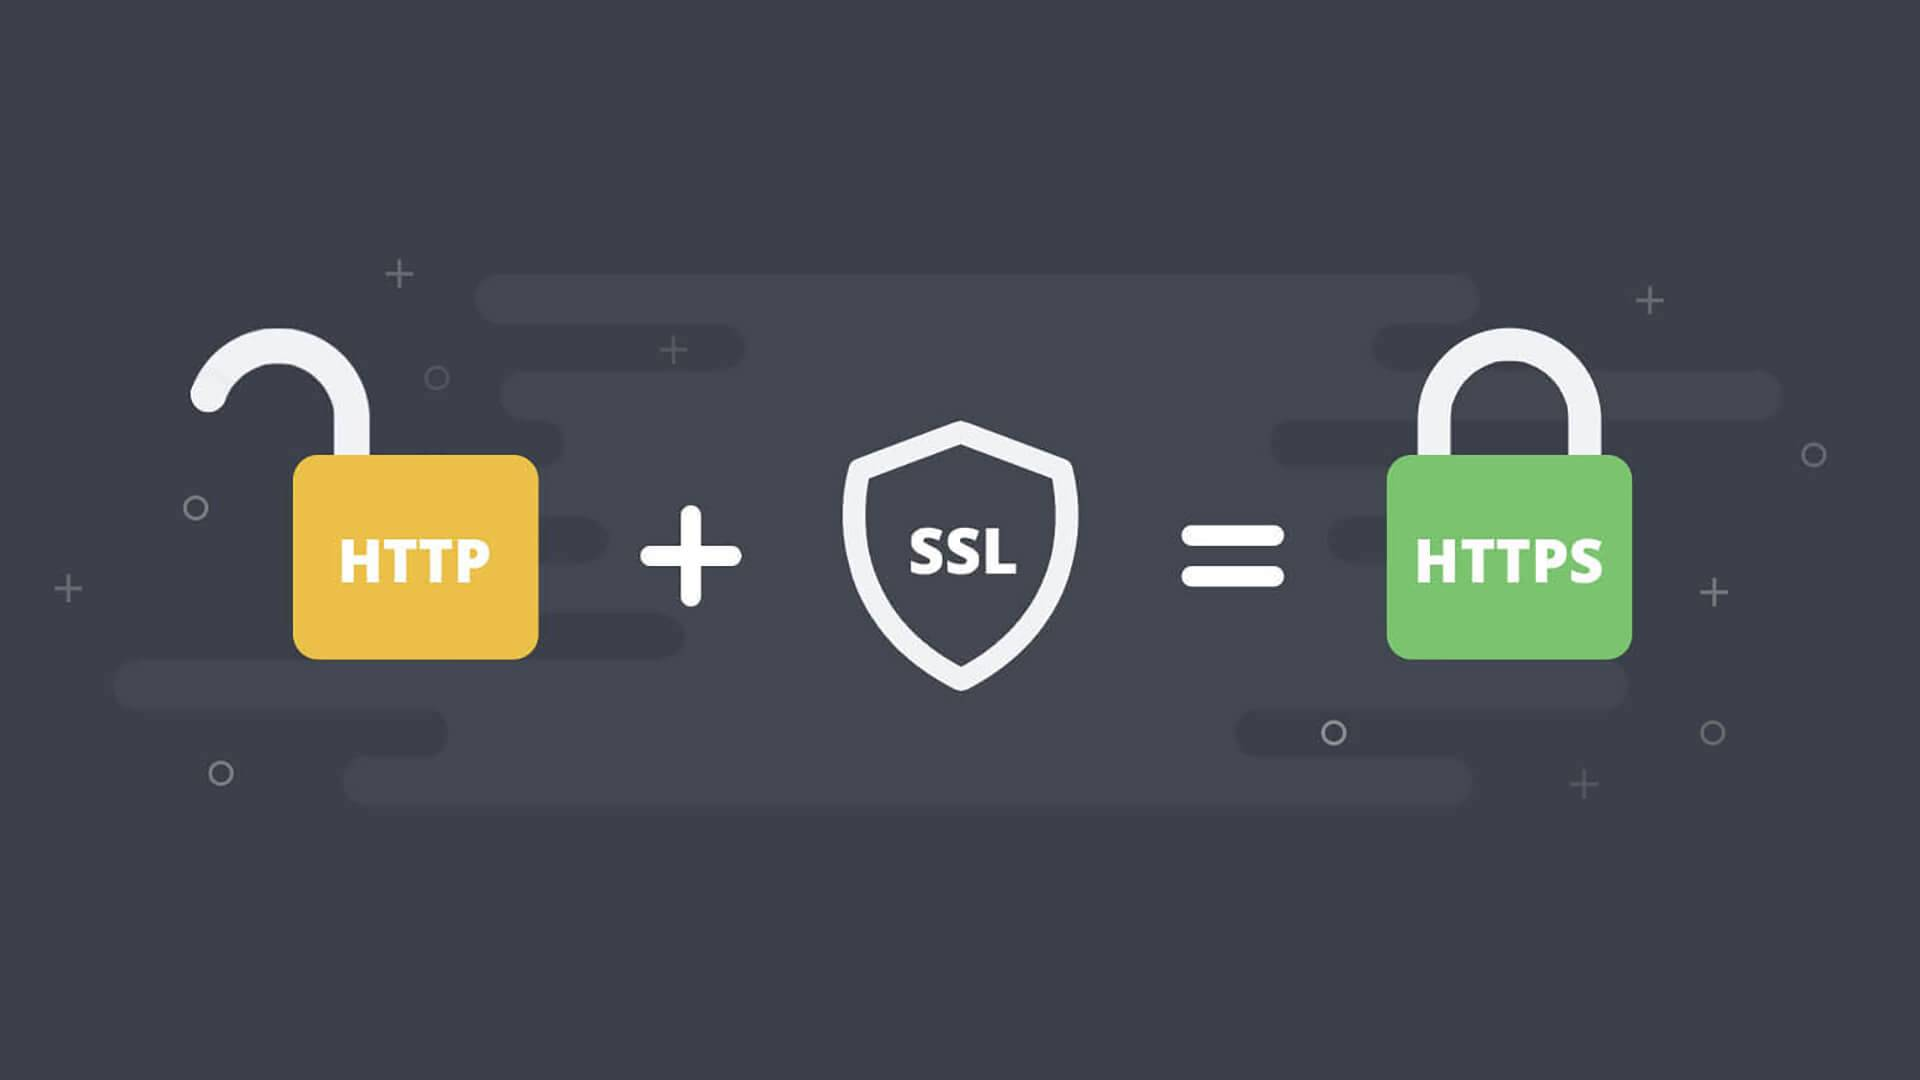
默认情况下,docker对registry的操作是基于https协议的,而Harbor默认是以http协议访问的,如果这时候执行docker login的操作,会得到这样的错误信息:1
Error response from daemon: Get https://xx.xxx.xx.xx/v1/users/: dial tcp xx.xxx.xx.xx:443:getsockopt: connection refused
这时候需要修改docker的启动文件
docker.service,如下所示:1
2Modified,origin: ExecStart=/usr/bin/dockerd -H fd://
ExecStart=/usr/bin/docker daemon -H fd:// --insecure-registry xx.xxx.xx.xx:5000然后执行命令:
1
2systemctl daemon-reload
systemctl restart docker登录私人仓库否则会出现
1
denied: requested access to the resource is denied
解决方法进行登录操作
1
2
3
4//登录
docker login xx.xxx.xx.xx:5000
//退出
docker logout xx.xxx.xx.xx:5000
3. Harbor使用
- 上传项目到Harbor
以docker的官方镜像hello-world为例,先下载好镜像,然后给镜像打tag:其中“test”为项目名,如果预先没有创建test项目的话,push的时候会提示:1
docker tag hello-world xx.xx.xx.xx:5000/test/hello-world
那么现在Harbor UI里新建一个test项目,然后执行:1
denied: requested access to the resource is denied
1
docker push xx.xx.xx.xx:5000/test/hello-world
- 拉去镜像 会报连接错误
1
docker pull xx.xx.xx.xx:5000/test/hello-world
解决的方法也很简单,在/etc/docker/daemon.json(如果没有就新建)中添加以下代码:1
http: server gave HTTP response to HTTPS client
1
{ "insecure-registries":["xx.xx.xx.xx:5000"] }
本博客所有文章除特别声明外,均采用 CC BY-NC-SA 4.0 许可协议。转载请注明来自 Chc-个人数据程序主页!


